Going paperless in the registrar’s office is easier than you may think. This blog walks you through how to replace paper-heavy tasks, like drop/add, re-enrollment, and change-of-major forms, with secure, automated eForms.
The old way of printing, signing, and chasing approvals is slow, costly, and hard to track. With the right process automation tool, you can turn those headaches into fast, streamlined workflows that make everyone's job easier.
Step 1: Identify Key Registrar Documents for Paperless Efficiency
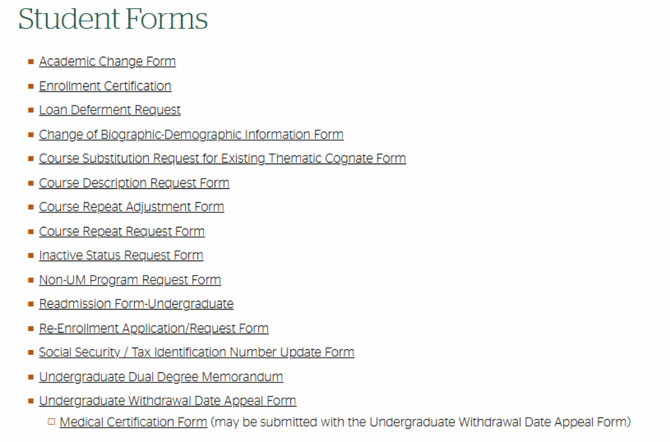
Take inventory of all your paper forms, such as transcripts, enrollment forms, and course change requests. Use that list to discover which forms are the most time-consuming to process and prioritize them for e-form conversion.
Take note of the risks and challenges of manual processing, then evaluate your institution's tech stack and partner with your document management vendor to tackle each risk. Make sure to designate clear ownership. Identify who in the registrar or IT owns each document type, manages access, and cares for the data.
Step 2: Implement a Secure Digital Repository
Bring all your paper and digital records from SharePoint, OneDrive, and other platforms into one centralized repository. Simplifying access while maintaining security ensures your office stays compliant.
- Role-based access: Limit visibility so staff only see the information they need.
- Centralized control: Reduce confusion and silos with a single, secure source of truth.
Step 3: Convert Paper Records to Digital Documents
Replace physical copies like credit transfer applications and enrollment verifications with electronic forms to eliminate storage and supply costs.
Integrate with your student information system (SIS) to auto-populate form fields, so data flows directly back into student records—no manual entry required.

Enhance the student experience with an online student portal (or add secure document links to your existing environment) where students can easily access all documentation.
Step 5: Improve Efficiency and Collaboration
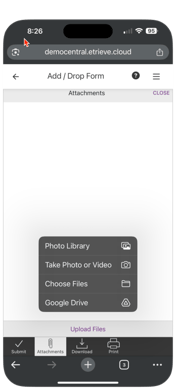
Enable students to complete forms on any device, like phones, tablets, or laptops. They can attach photos (like IDs or driver’s licenses) directly into the form.
Give staff secure access to records from anywhere so they can work effectively from anywhere. Removing time-consuming tasks like filing, photocopying, printing, and document retrieval reduces delays and frees staff to focus more on supporting students.
Step 6: Compliance and Secure Access
Protect sensitive student records with a SaaS-based document management system hosted in a best-of-breed Microsoft Azure environment supporting NIST 800-53 standards.
Look for a solution that:
- Protects against ransomware and other cyber threats with intrusion detection and data encryption in transit and at rest. (For example, see the security standards of the Etrieve platform from Softdocs.)
- Ensures FERPA (and HIPAA, if applicable) compliance through controlled data access and well-defined retention policies.
- Provides comprehensive audit trails that track who accessed student records, when they did it, and what actions they took.

Step 7: Optimize for Continuous Improvement
Leverage analytics to understand your workflows. Track throughput times, monitor document progress, and use workflow dashboards to reassign tasks and balance workloads.

Gather feedback from staff and students, then iterate to improve workflows or launch new eForms. This ongoing cycle of monitoring and optimization keeps your digital registrar operations efficient and responsive.
Ready to Take Your Registrar’s Office Paperless?
Routing dual-enrollment e-forms through electronic workflows means faster turnaround, higher productivity, and less hassle for students, parents, and staff.
Softdocs makes it easy to go paperless and transform both student-facing and back-office processes. It’s a simple change that delivers significant results — and one every registrar’s office should have.
Want to see it in action? Watch our quick demo to see each step come to life.
Join Vince Silvestri, VP of Sales Engineering and Solutions Expert at Softdocs, for a 30-minute walkthrough of how automation transforms registrar operations—from document capture to seamless digital workflows and secure storage. See firsthand how Softdocs eliminates manual tasks, reduces errors, and improves efficiency across your office. Duration: 30 minutes.

Tags